“Oh no,” the readers cried out in unison. “Not another photography post!”
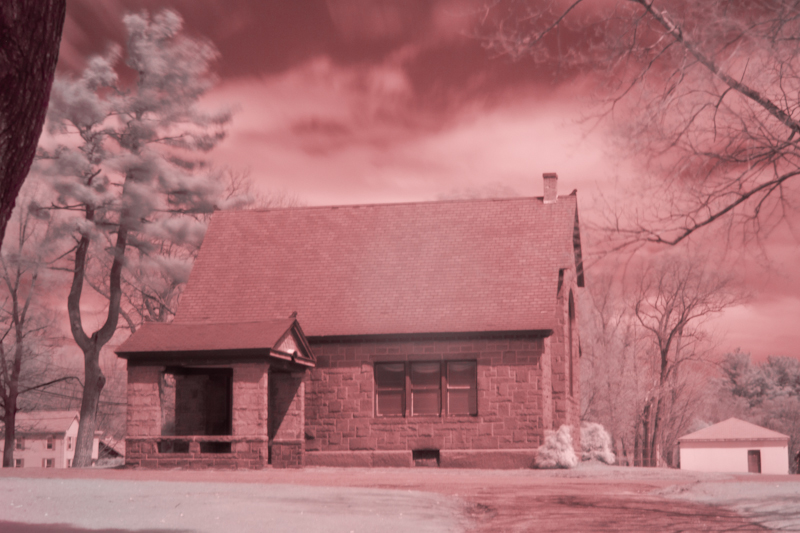
Ah, yes, you’ll have so suffer, my children. This one will be fun, though. I picked up an infrared filter for my camera for $25 on Amazon, because it seems like a very cool toy. It’s not the easiest thing to play with, so these first attempts are me, attempting to learn how to take an IR photo. For one thing, you can’t see anything when then filter is in place, so you have to focus and THEN put the filter on. This means if you move the camera later, you have to remove the filter and refocus, etc. And even then, it might not be quite right. Also, you have to do a lot of post production on these photos because they come out violently red/magenta. It’s the nature of the filter. Lastly, if it’s windy like it was today, and your tripod is not very sturdy, your camera is going to move during the 5-30 second exposures you need to take to get the photos. Next time I’m going to try with a higher ISO so that I can use a shorter exposure time. We’ll see if that makes them a bit crisper.
Okay, so now that I’ve set your expectations into the cellar…
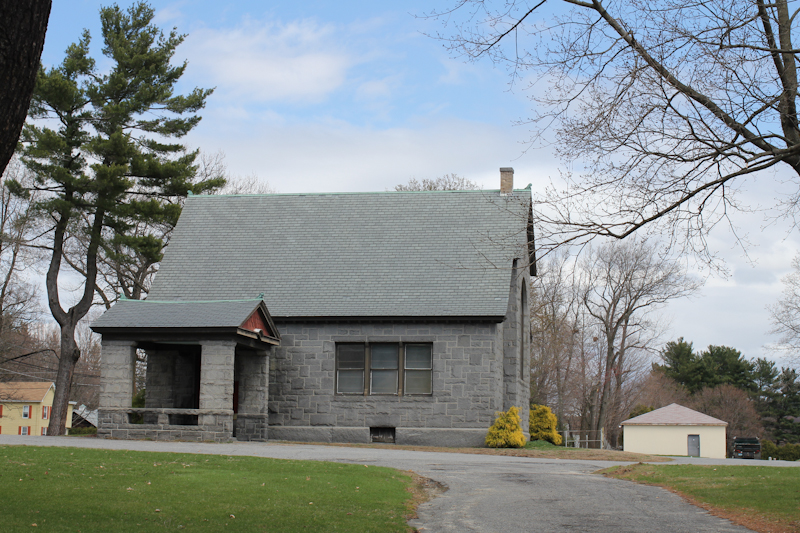
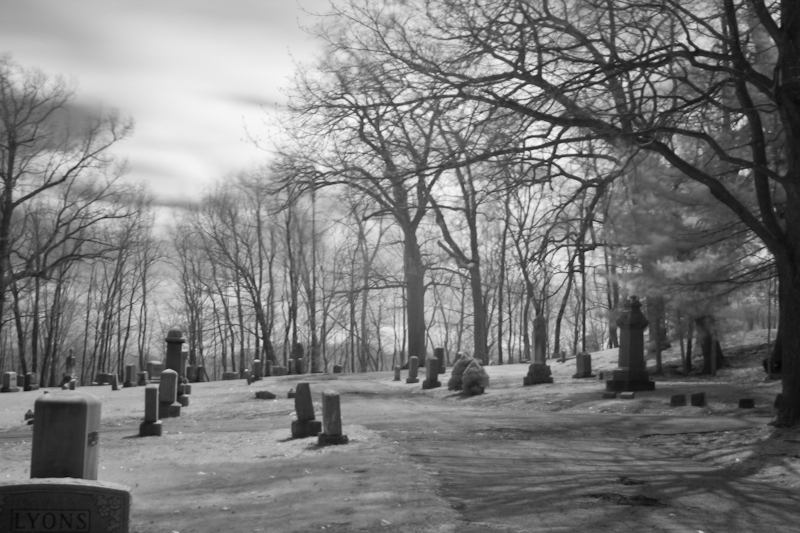
I stopped by Evergreen Cemetery in Leominster to take a few shots. The first shot is clear – no filter, to set white balance and focus. The shot after that is the IR photo, post-processing with some of the red left in for artistic purposes.
CLICK TO VIEW LARGER VERSION
Now, shot using the IR filter, 15 seconds at f/8, 35mm lens
The movement in the trees is due to the wind.
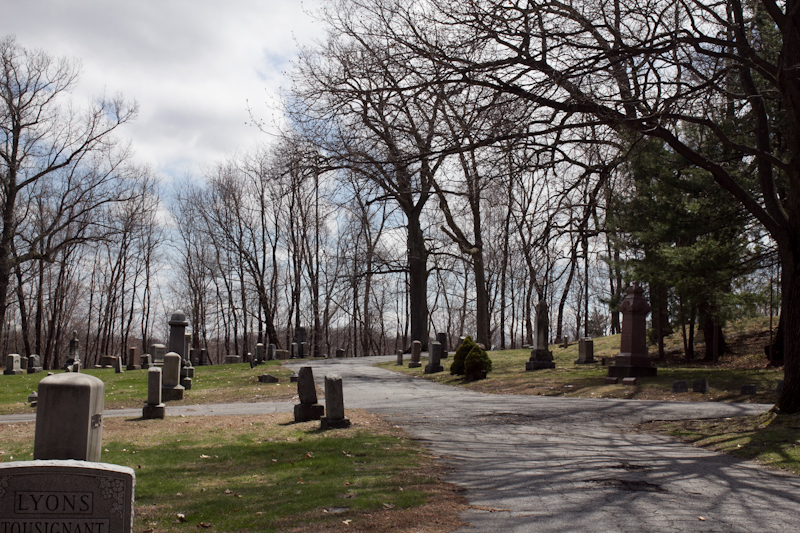
This next photo is a straight, no filter, no processing photo.
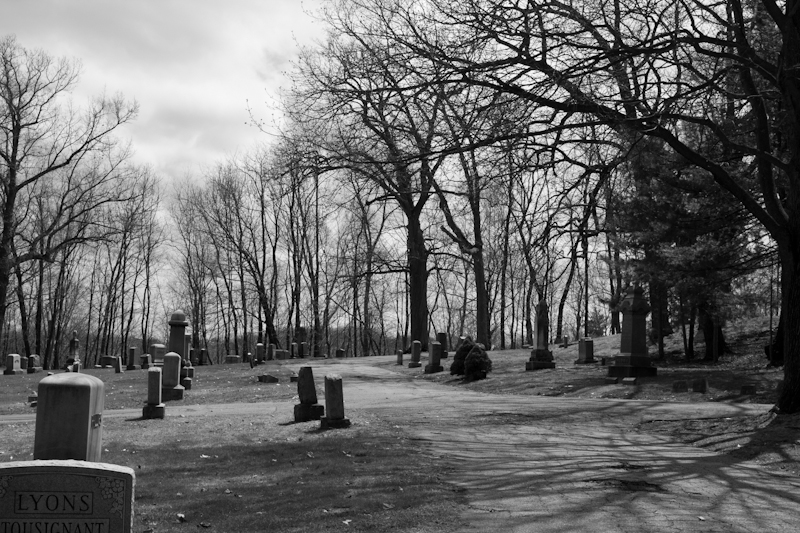
Here’s that photo converted to black and white. Looks pretty good, but lots of shadows.
This is the one with the filter – it shows a lot more of the details from the shadows, and I think it would look a lot better if the tripod wasn’t all blowy-aroundy.
